Saturday, July 29, 2017

Brute Forcing

Before we start discussing about brute forcing let's get an idea about what is the meaning of brute and force. Brute means violently where force means making a way through or into by physical or logical strength. We use this term in computer security area to describe an event where an attacker tries to crack passwords of a login page or somewhere using every possible combination of some characters. Number of characters can be different from scenario to scenario.
Example : I know that youcanthackme.com website allows users to provide only digits in their passwords. Therefore I only consider about the combinations that can be made out of 0-9. This makes brute force attack fast.


 Brute force tools

  1. Aircrack-ng
  2. John the ripper
  3. Rainbow crack
  4. Cain and Abel
  5. L0phtCrack
  6. Ophcrack
  7. Crack
  8. Hashcat
These are some well known brute force attack tools.

As we all know to store password in databases almost everyone use hashing instead of encryption. Once you provide the password in the login form system take the hash value of it( salting is also happening) and compares with the initial stored hashed password. Only these two matches system will allow the user to enter. In here if you are really considering about brute force attack you can use a slow hashing algorithm. Assume that you have a brute force tool that feeds 50 combinations in a second. If the hashing algorithm cannot catch up that speed the attack will be crashed.

examples for slow hashes - bycrypt, PBKDF2, scrypt


Thank you guys. Hope you learned something from this blog post. Cheers.


Encrypt folders in macOS - 100% working in Sierra


If you are a mac owner this is a feature that you must know. There can be a ton of information that belong to different sensitivity levels on your computer. Sometimes you might not want others to see highly sensitive data on your computer. I came across with this feature a couple of days ago and I thought there can be so many people out there who really have dirty secrets to hide just like me 😉.
If you are still using macOS X , do not worry this will work smooth on your computer as well.

1) Go to "Disk Utility"

You can press command + space to get the spotlight search bar and type Disk utility


Or you can just go to Launchpad and click on others. Then you will see Disk utility in there.

2) Once you get the interface of Disk Utility you will see Disk utility task bar on the top of your screen. Click on File and then go to New Image. From there select Image from Folder.


3) Now create a text file somewhere. I created a text file and named it as "test"


4) Now again go to disk utility. You are prompted to browse the folder you wish to encrypt. I put my text file into a folder called "test". Select that folder. (Click on open)


5) Now you are asked to put values and select the encryption mechanism (AES- Advance Encryption Standard).
You have two options (128bit AES encryption and 256bit AES encryption). Now this totally up to you. If you think the data that you are going to encrypt requires high level of security, then select 256 bit AES algorithm. The problem with this algorithm is it is slower than 128bit AES algorithm.)
You will be asked to provide a password to access the encrypted folder.

You have to be very careful when selecting the "Image format" property. If you are planning to do changes to documents inside your encrypted folder later then select read/write option.


Once you click on "save" your folder will be encrypted.


Once it is done go to your saved location and double click on the encrypted folder. If you look carefully you will notice that it is not a folder anymore but a disk image.


Double click on the disk image.
You will be asked to provide the password.


You can see there is a check box saying Remember password in my keychain. Do not tick it. Otherwise this encryption is useless.
Go to desktop. You will see something like this now.

Double click on this. Now you will see your file.


After your work inside the encrypted folder open up a finder window and go to device section. From there you can see your disk image is mounted. Click on the upwards arrow mark to eject it so when someone tries to access the encrypted disk image he/she will be prompted to enter the password again.


That's it guys. Hope this post helped you. Cheers.


Tuesday, July 25, 2017

Stored Cross Site Scripting(XSS) with examples


This is the second part of the blog post "Reflected Cross Site Scripting(XSS) with examples". Stored XSS is the next way of performing XSS attack on a website. As the name implies itself there is a database in here and the user inputs will be stored in this database. An attacker will try to use an non sanitized textbox or text area to do the attack.

Now let's see how stored XSS works with an example. For this you have to have mySql database.
All the necessary files are uploaded to Github.

 https://github.com/sajith01prasad/Stored-Cross-Site-Scripting-with-examples

First create a database called xss. inside this database create a table called 'Messages'. Messages table has two columns ( Receiver and Message). Use varchar as the data type for both columns.


Now go to MessageClient.html page


By clicking on the first link sender can send messages to anyone he likes. Click on the first link. 


Send a message To : Sam
Message: Hello Sam. How are you doing?


Now click on send button.


Now go to phpMyAdmin. Go into the 'xss' database. You have "Messages" table in the database. click on it.


You can see the Message we sent to Sam is stored in the database.


How an attacker use this to perform Stored XSS attack ? We will discuss about that now.
As you know there are two hyperlinks in the "message client" homepage. We used first link to send a message. Now let's click on the second link which is "sent Messages". Once you click on it you will be directed to a page like this.


Here, enter "Sam" and hit "view".


A simple sql query is written to retrieve all the messages that are sent to a given person.  Now let's see what will happen when an attacker inputs something like this ; in the first page.

Receiver - Neville
Message - <a href=\"\/\/google.com\">Click me</a>


Now go to the second link and type Neville.


You can see a hyperlink "Click me" on the web page.  Click on it. Legitimate user will be directed to Google home page.


An attacker can use this method to direct all the users in a website to his malicious website so he can steal everyone's cookies etc.


I will show you how to view the cookie values when the user clicks on Click me hyperlink.
For this also we have follow the same procedure. First we should enter the script in to the database and when that script retrieves by the web page and user clicks on it , it will get execute.


Receiver -Kevin
Message - <a HREF="javascript:alert(document.cookie);">Click me</a>

Now go to mysql and check whether the inputs are there or not.

Then go to the second link of the main page where you can view sent messages.
In there give "Kevin" as the receiver's name.
Like in the previous example you will see a hyperlink on the web page(Click me). Click on that link.


Since the website I am hosting on localhost does not maintain a session and it does not store any cookie value on the web browser I had to add a php code line to the initial code.


 setcookie("localhost","237637276377",false,"/",false);
localhost is the name of the cookie.
 237637276377 is the value of the cookie.
/ is the path of the cookie.
The third parameter I mentioned in here is the secure flag. I set the parameter to false because if it is true cookie will be set only if it gets transmitted through a secured connection like HTTPS. Since localhost serves on https I set the flag to FALSE.
Last parameter is the http only flag.  We are going to access this cookie from the client end using javascript. If we set the flag to TRUE this cookie will be only accessible from the server side. So there will be now way for me to show you how to retrieve the cookie value. Therefore I set the flag to FALSE.


viewMessages.php


What if an attacker get these cookie values and send them to his malicious website to store them? Then he can use them to log in to the website as legitimate users before cookies get expired.


The best place in a website to practice this XSS attack is the comment section. If the comment section is not validated properly every user in the website is in danger. These comment sections are written in a way that it gets refreshed in every certain time period.  The attacker can use this feature to improve the strength of the attack.


How to prevent Stored XSS

  • Escaping special characters. 
According to the table below, XSS can be easily prevented by sanitizing inputs. That means escaping special characters like greater than sign, lower than sign etc. This can be done before the user input goes to the database or when they get retrieved but before render them on the web page. Once we do this escaping those special characters will not get executed.


  • Open source libraries. 
We can use in built php functions to filter user inputs.
  1. PHP AntiXSS
  2. xss_clean.php filter
  3. HTML Purifier 
  4. xssproject
  5. XSS HTML Filter


Monday, May 8, 2017

Facebook Apps - OAuth 2.0


            Facebook apps are very popular due to various reasons. Most of the time these apps are built for entertainment purposes.
           When you see an attractive Facebook app you click on it. Once you clicked you can notice that they ask you to login as a Facebook, Twitter or Gmail user. That means by having one of these accounts you can use those apps without any problem. But these application owners, are they related to Facebook? or twitter? No! but then what is the connection between them? How we able to access someone else's application using Facebook account? Does Facebook know about this? You might have these questions in your mind.
          Actually these applications use OAuth protocol.
     OAuth (Open Authorization) is an open standard for token-based authentication and authorization on the Internet. OAuth, which is pronounced "oh-auth", allows an end user's account information to be used by third-party services, such as Facebook, without exposing the user's password.


In this blog post I am going to explain how to make a simple Facebook app like this using OAuth protocol.


But before that let's see what is happening behind this.

Study this diagram.


What is this token Facebook provides? actually Facebook provides two types of tokens. Access token and refresh token. Access token can be used several times before it gets expired. Once it is expired refresh token is sent to Facebook server in order to receive another access token along with a new refresh token.User can use this access token to get information from Facebook.

Let's start creating the app.

First we should go to facebook developer site and create an app there.

https://developers.facebook.com/


Go to "My Apps" on top right corner and select add new app.
This window will pop up. Enter required details and click "create App ID".


Now click on "Add Platform" on left corner navigation list. You will see something like this. Click on "Get started" in Audience Network.


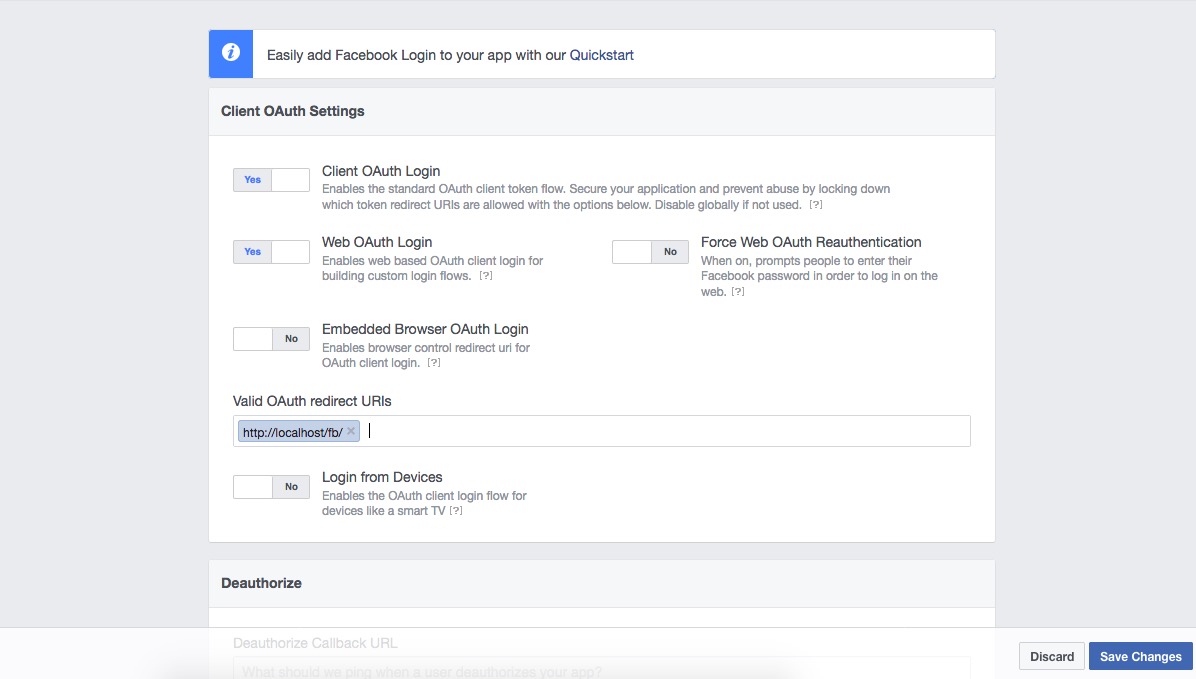
You will see this area. In here you have to provide redirect URL in valid OAuth redirect URLs.
Facebook will send all his responses to this URL.  

In "settings" provide a App Domain and a Website URL. To provide a Website you have to click on "+ Platform" and then click on website.


In Dashboard you can see your app's App ID and App secret.


Now let's see how to use these values ( Redirection point URL, App ID, App secret ) to get resources from Facebook.

Obtain Authorization code from Facebook

For this we have to prepare the URL. This URL contains for elements.When we put these elements together all should be encoded using a URL encoding method. Parameter name, value and encoded value is given below.

1. response_type.     
    Code           
    Code                           

2. client_id
    1363180347108907
    1363180347108907

3. redirect_uri 
    http://localhost/team/
    http%3A%2F%2Flocalhost%2Fteam%2F

4. scope 
    public_profile user_posts user_friends user_photos
    public_profile%20user_posts%20user_friends%20user_photos

 Now combine these values and make the URL.


 Enter that URL in the URL bar of your browser and hit enter. Now you will see something like this. This is called as user consent page. In there you can see "Edit this" button. If you click on that you can manage the accessing resources.


Since you are the owner of this App you don't have to worry about privacy. Click on continue.

 This page will appear. 


 This page appear because for real you don't have a project which supports http://localhost/team/.
But check the URL. You can see authorization code is sent to you from Facebook. (highlighted)

http://localhost/team/?code=AQDRsjK348Gmy1upjm7vXVWPA5_n3A64gRs43npMFInR7b3H2-ibuf7s9vMaPnx3uqQt_oT2wx7XeICuIUlR2J-xICsHREiV5RmZ_-tqEPxKZYWfbI9qCtUopJBtLPkvC7KkPlWsshukf2siNYG1oAJTI87cYmNPC5_vhFdJeVAG7jqPu-Wbc1ACrLHMkCvMXXiWryWz0hMOGWMiZfgA8kteKuj0Y18fzL8vI156P1UiOiOr9pAz11OXrEPtga
7bZt4UJzzFJ0V8QJ0rof8Kc2HmKvGoaKpOC6oJBpR09fPo2fRs8umhQ5JMa4pHZwpm7j4nI-t4goKumDxpMMnlHG7R#_=_ 

Obtain access token

To obtain access token we have to have four parameters.
1. grant_type
    Authorization_code
2. client_id
    1363180347108907
3. redirect_uri
    http://localhost/team/
4. code
     AQDRsjK348Gmy1upjm7vXVWPA5_n3A64gRs43npMFInR7b3H2-ibuf7s9vMaPnx3uqQt_oT2wx7XeICuIUlR2J-xICsHREiV5RmZ_-tqEPxKZYWfbI9qCtUopJBtLPkvC7KkPlWsshukf2siNYG1oAJTI87cYmNPC5_vhFdJeVAG7jqPu-Wbc1ACrLHMkCvMXXiWryWz0hMOGWMiZfgA8kteKuj0Y18fzL8vI156P1UiOiOr9pAz11OXrEPtga
7bZt4UJzzFJ0V8QJ0rof8Kc2HmKvGoaKpOC6oJBpR09fPo2fRs8umhQ5JMa4pHZwpm7j4nI-t4goKumDxpMMnlHG7R#_=_


In the HTTP Headers, we need to add the Authorization header with the App credentials. 

App ID -  1363180347108907
App secret - c12fb940ca8e67d43d447f364861218b

AppID:App_secret
 1363180347108907:c12fb940ca8e67d43d447f364861218b

Now we have to encode this whole value using a base64 encoder.
 MTM2MzE4MDM0NzEwODkwNzpjMTJmYjk0MGNhOGU2N2Q0M2Q
0NDdmMzY0ODYxMjE4Yg==

To get the access token we have to specify the token endpoint. In this case it is this url
https://graph.facebook.com/oauth/access_token
 
Install RESTClient in your browser.

Give those values and obtain access token.


 Retrieve resources using access token

Method - GET
URL - https://graph.facebook.com/v2.8/me?fields=id
Authorization: Bearer <access token value>

 This will give user's ID in JSON object format.
 Using this ID you can get any information you want.

ex- you can uploaded posts.


Now let's see how to implement an app which can retrieve these information and output to the user.
I used php to develop this app.
Github link - https://github.com/sajith01prasad/Facebook-App---Oauth2.0.git

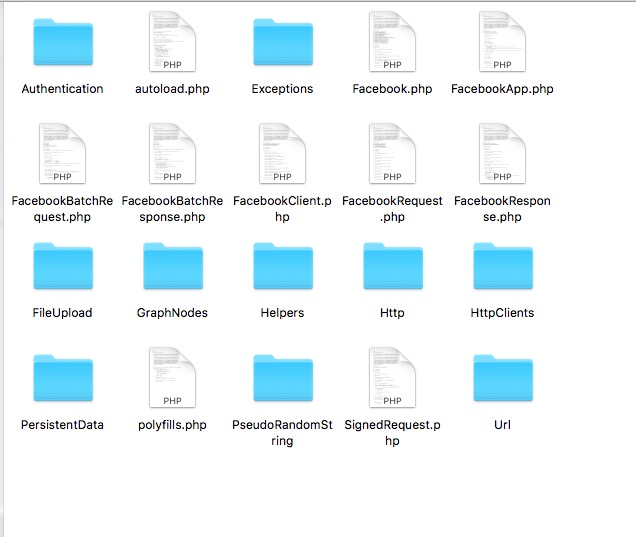
You have to have Facebook SDK v5 for PHP.  (You don't have to download this. I have added in it my project.  Check folder "facebook" in my project folder)
https://developers.facebook.com/docs/reference/php


index.php 


If you are not logged into Facebook only you will see the index page. Otherwise you will directly go to i.php which shows the results.

 This page is the main page where user directs to.


 Once the user clicks on "Click Here" button user will direct to i.php .


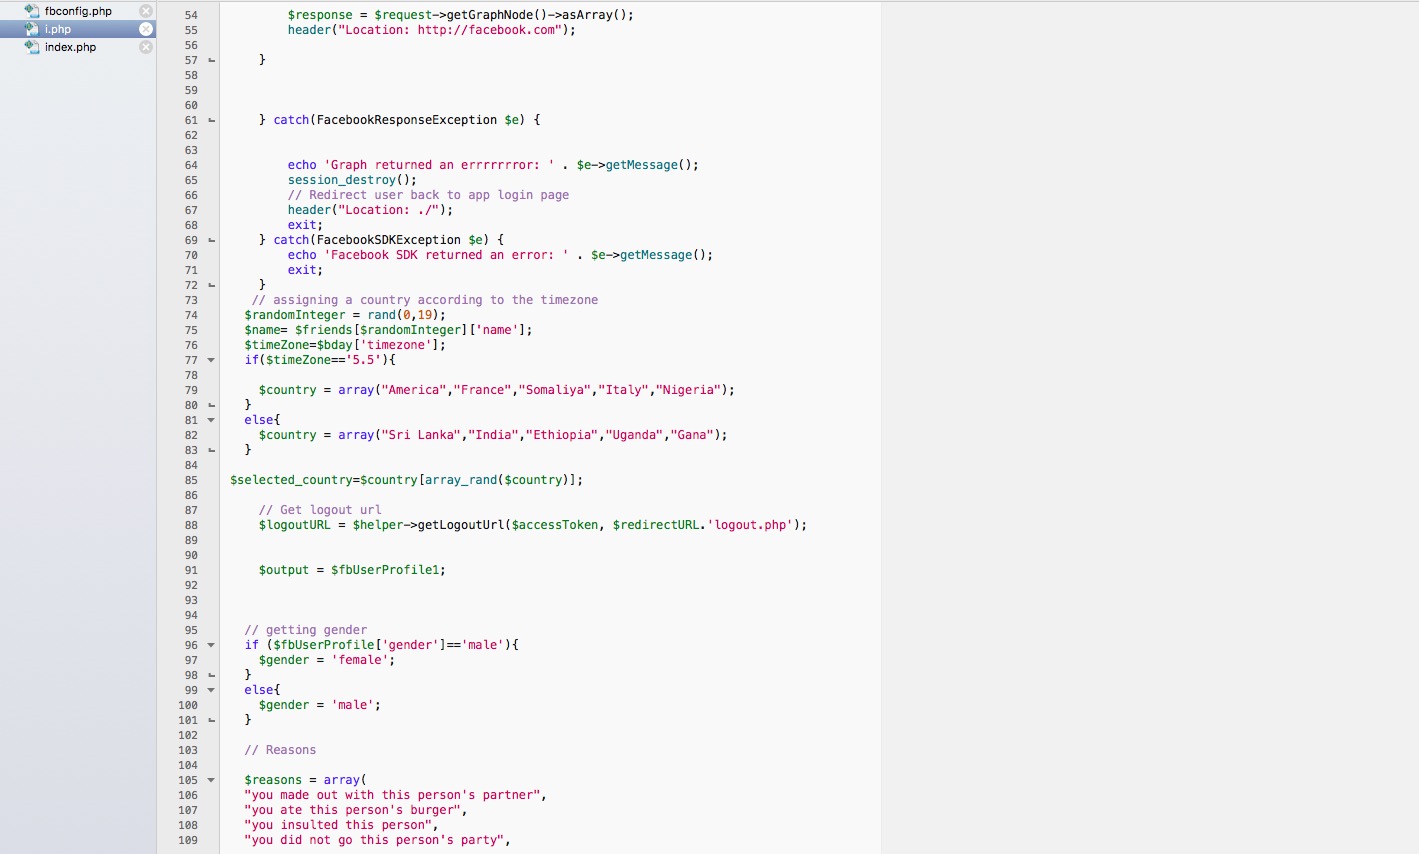
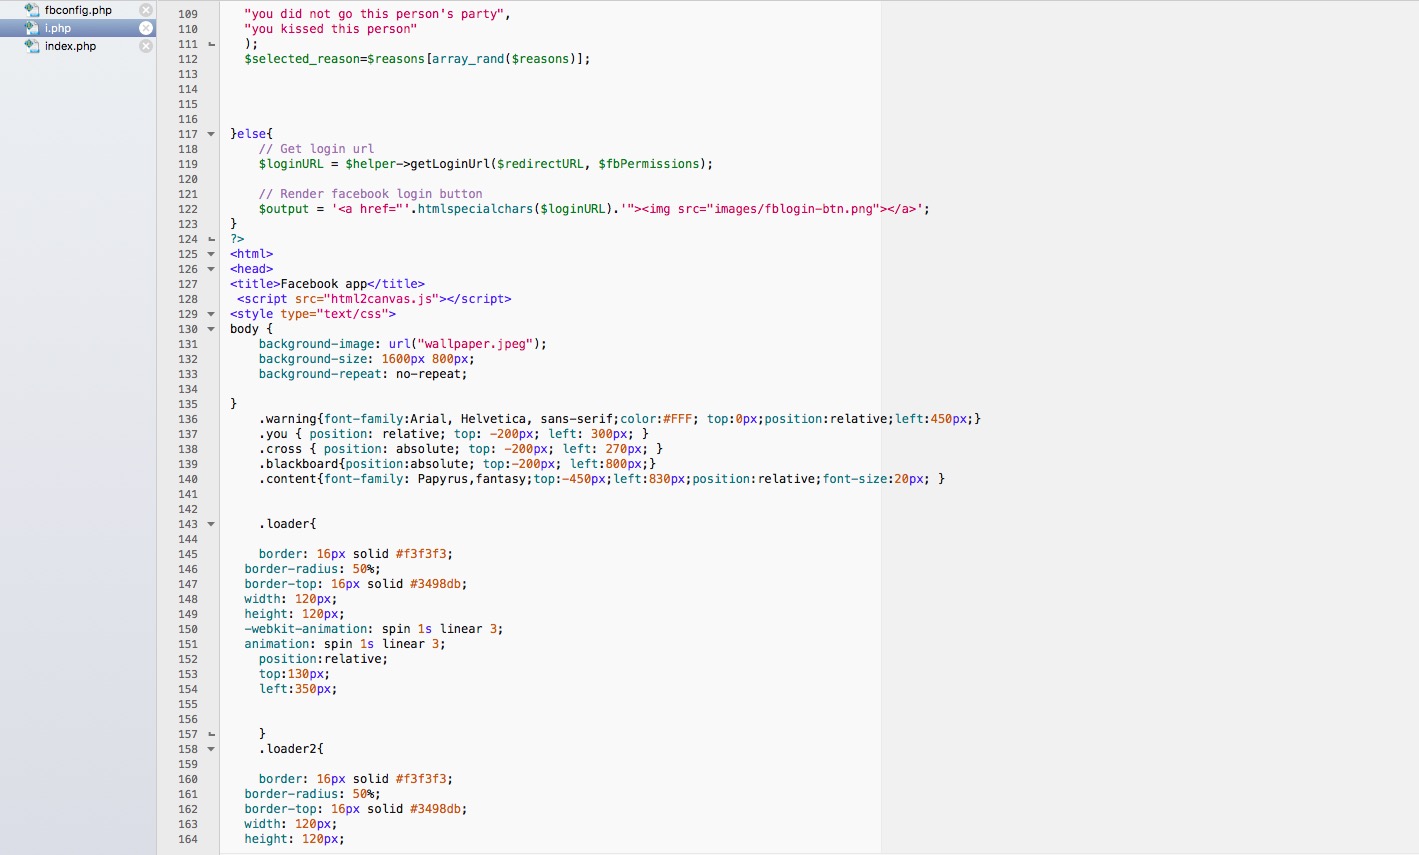
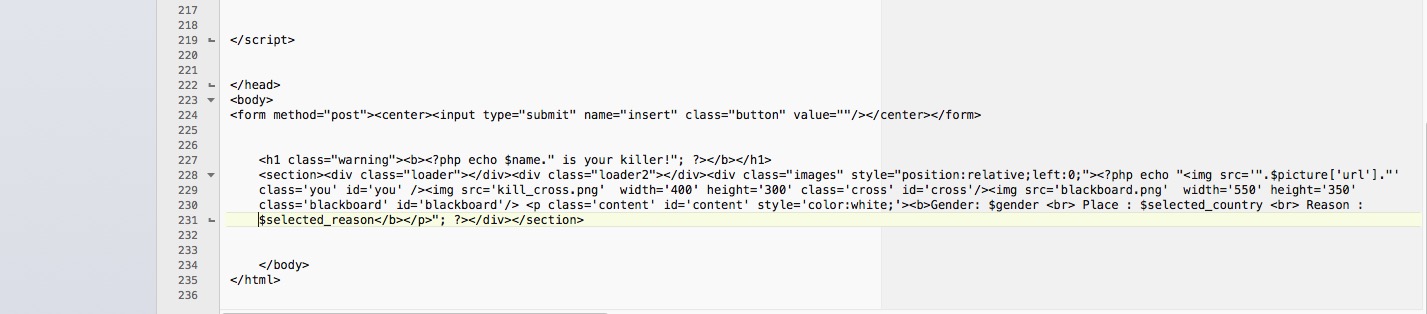
i.php


Note:
The app I used for this has permissions for user friendlist. You can go to app review and check which permission you have.


Do not worry. If your app does not have that permission provide this instead of $permissions = ['email']; in both i.php and index.php files

$permissions = array("email","user_friends");
Otherwise you will not get killer's name.


 Look of this page is like this.


 You can see there is a button on the top of this page "Share on Facebook". Once the user clicks on this button automatically picture of index page with a caption of "Check out this app! It is awesome http://localhost/fb/i.php " will be uploaded on users timeline.

By calling facebook api I have received a few resources of user. name, profile picture, gender, timezone. According to the timezone I am assigning a country to the user. Since my application didn't go under Facebook review process I can't access many user information. (such as birthday, friend's profile picture etc).


 These are the files in the facebook php SDK v5


I hope you now you know how to make a Facebook app with the help of OAuth from the scratch.
Cheers. !!!